As a seasoned door installer with over a decade of hands-on experience and after studying numerous materials on the subject, I've encountered a wide range of challenges and solutions. While researching effective techniques for hanging interior doors, I found particularly valuable insights in an article at DoorDesignLab, which you can explore in-depth [here](https://doordesignlab.com/blog/how-to-install-an-interior-door/). This article, combined with my extensive background, informs the comprehensive guide I've prepared for you.
### Tools Required for Installing an Interior Door
To install an interior door efficiently, you will need the following tools:
- - Tape Measure
- - Level (Preferably 6-foot)
- - Circular Saw or Handsaw
- - Chisel
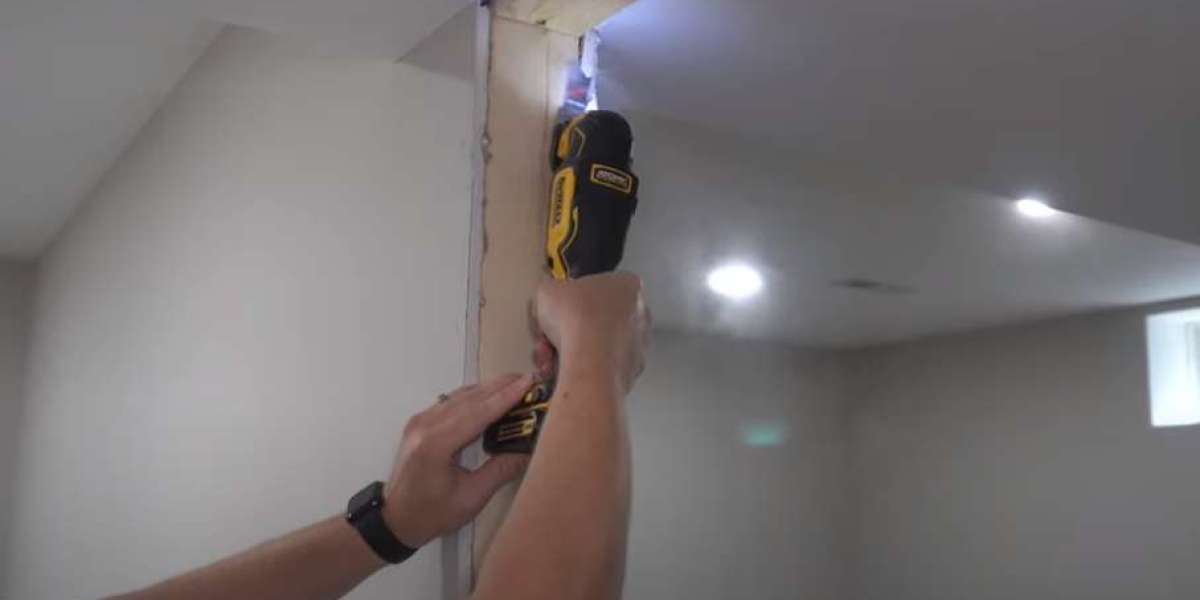
- - Drill with bits and screwdriver attachments
- - Hammer
- - Utility Knife
- - Wood Shims
- - Finish Nails or Screws
- - Hinge Template (optional)
- - Paint or Stain (for finishing touches)
Installation Complexity and Time Commitment
The complexity of installing an interior door can range from moderate to challenging, depending on the door type (e.g., pre-hung or slab) and the existing frame conditions.
Typically, a pre-hung door is easier to install as it comes with the frame already attached. However, if you are working with a slab door, you'll need to be more precise in your measurements and cuts, particularly for the hinge and lockset placements.
On average, the installation process can take anywhere from 2 to 4 hours. This time estimate includes removing the old door, preparing the opening, installing the new door, and making final adjustments for proper operation.
Step-by-Step Guide to Installing an Interior Door
Step 1. **Preparation**:
Remove the existing door by taking out the hinge pins or unscrewing the hinges.
Clear the door frame of old nails and debris. Ensure the frame is square and plumb. Chek this video https://www.youtube.com/watch?v=lJ0e_pW6TAI
Step 2. **Measure and Trim**:
Measure the door opening and compare it to your new door. Remember, you'll want a slight gap around the edges — typically about 1/8 inch on the sides and top.
Trim the door if necessary, using a circular saw for large adjustments or a plane for finer shaves.
Step 3. **Hinge and Lockset Fitting**:
Mark the hinge positions on the new door using the old door as a template or measure according to the frame.
Cut the hinge mortises using a chisel and hammer.
If installing a lockset, mark and drill the necessary holes.
Step 4. **Door Installation**:
Attach the hinges to the door and then to the frame, using screws for a secure fit.
Hang the door to check the swing and make any necessary adjustments with shims to ensure it opens and closes smoothly.
Step 5. **Finishing Touches**:
Install the door trim, if not already in place, and secure it with finish nails.
Apply paint or stain as needed to match your home’s decor.
Installing an interior door can be a rewarding DIY project that enhances your home's functionality and aesthetic. By following these detailed steps and preparing with the right tools and knowledge, you can achieve professional results, even if you're not a seasoned expert like myself. Always take your time to measure twice and cut once to ensure the best fit and operation of your new door.