Unboxing and Initial Setup:
Upon unboxing your Nighthawk Router Login, ensure that all components, including the router itself, power adapter, and Ethernet cable, are present. Connect the antennas to the router if they are detachable. Place the router in a central location for optimal coverage.
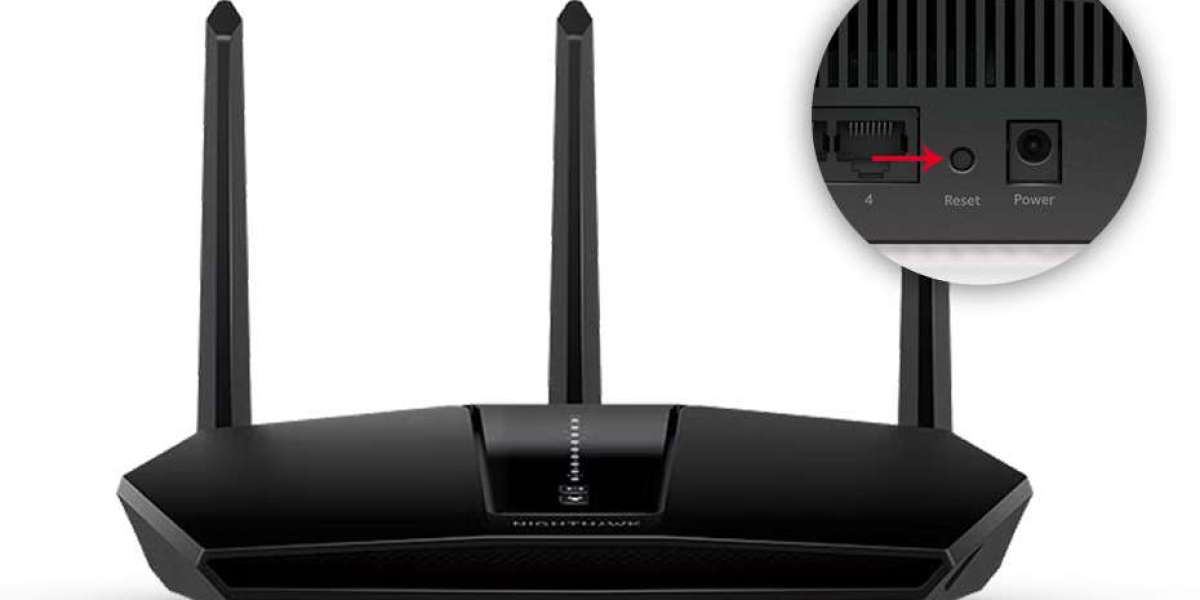
Power On and Connect:
Plug in the power adapter to the router and a power outlet. Wait for the router to power on fully, indicated by stable LED lights. Using the provided Ethernet cable, connect one end to the router's LAN port and the other end to your computer's Ethernet port.
Accessing the Router Interface:
Open a web browser on your computer and type "https://nighhawksetp.com/" or "https://nighhawksetp.com/nighthawk-router-setup/" into the address bar. Alternatively, you can enter the router's default IP address, typically "192.168.1.1", and press Enter. This will prompt you to enter the router's login credentials.
Logging In:
Enter the default username and password for your Nighthawk router. If you haven't changed these credentials before, the default username is usually "admin," and the default password is "password." Once logged in, you will gain access to the router's settings dashboard.
Setup Wizard:
Many Nighthawk routers offer a setup wizard to streamline the installation process. Follow the on-screen instructions, which typically involve configuring your internet connection type (DHCP, PPPoE, Static IP), setting up a WiFi network name (SSID), and creating a WiFi password.
Advanced Settings Configuration:
For users looking to customize their router settings further, navigate to the advanced settings section. Here, you can tweak options such as WiFi channel selection, security settings, guest network setup, parental controls, and Quality of Service (QoS) prioritization.
Firmware Update:
Ensure your Nighthawk router is running the latest firmware version to benefit from bug fixes, security patches, and performance improvements. Check for firmware updates within the router's settings dashboard or on the manufacturer's website. Follow the instructions to download and install the latest firmware.
Security Measures:
Protect your network from unauthorized access by enabling WPA2 or WPA3 encryption and creating a strong WiFi password. Consider enabling features like MAC address filtering and disabling remote management for added security.
Positioning and Optimization:
Optimize your Nighthawk router's performance by placing it in a central location away from obstructions and electronic interference. Adjust the antennas for optimal signal strength and consider upgrading to high-gain antennas for extended range.
Troubleshooting:
If you encounter any issues during the setup process or experience connectivity problems afterward, refer to the router's user manual for troubleshooting tips. You can also reach out to the manufacturer's customer support for assistance.
In conclusion, setting up and installing a Nighthawk router doesn't have to be a daunting task. By following these step-by-step instructions and best practices, you can ensure a seamless and efficient setup process, providing you with a robust and reliable internet connection for all your needs. Enjoy the blazing-fast speeds and expansive coverage that Nighthawk routers have to offer!