Creating custom shirt boxes can be a rewarding endeavor, allowing you to tailor packaging to suit your brand's unique identity and product specifications. Here's a step-by-step guide to making custom shirt boxes:
Define Your Requirements:
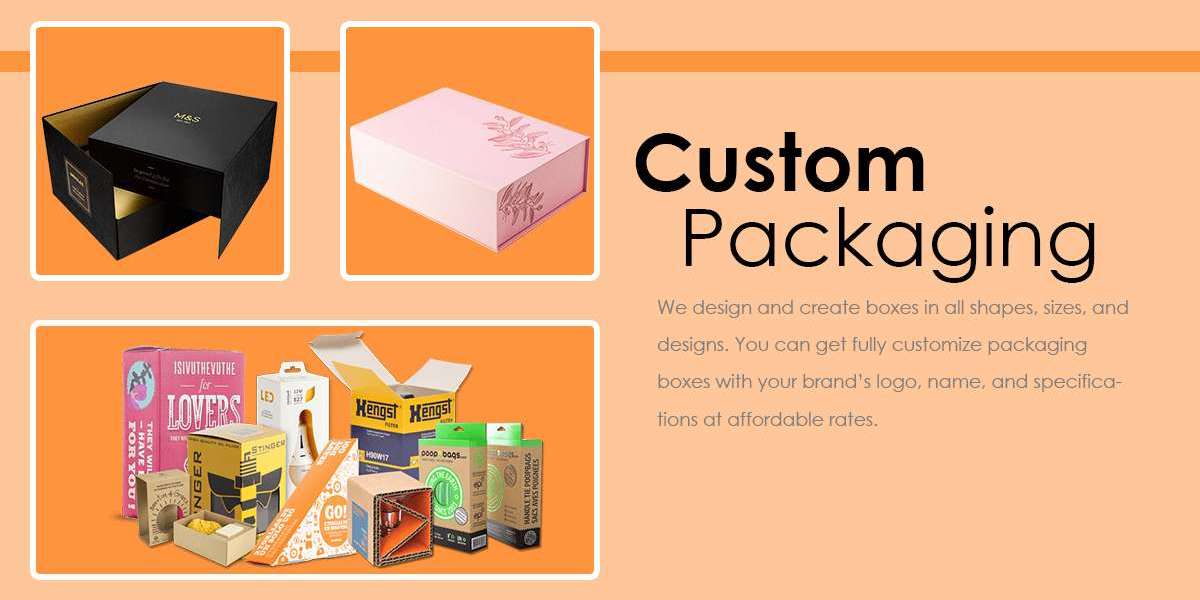
- Determine the size, shape, and style of the custom shirt boxes based on your product dimensions and brand aesthetics.
- Decide on the material for your boxes. Common options include cardboard, chipboard, corrugated board, or specialty papers.
- Consider any additional features you want to incorporate, such as printing, embossing, foil stamping, or window cutouts.
Gather Materials and Tools:
- Purchase or source the chosen box-making materials, ensuring they meet your quality and aesthetic standards.
- Acquire necessary tools such as a ruler, pencil, cutting mat, utility knife, bone folder (for creasing), glue or adhesive, and any specialty tools required for specific design elements.
Design the Template:
- Create a template for your custom boxes using design software like Adobe Illustrator or InDesign. You can also draw the template by hand if preferred.
- Include measurements for all sides, flaps, and folds, ensuring accuracy to achieve a properly fitting box.
- Consider incorporating design elements such as brand logos, patterns, or text onto the template for printing or embellishment.
Cut and Score the Material:
- Transfer your template onto the chosen box-making material, marking all cut lines and fold lines accurately.
- Use a sharp utility knife to carefully cut along the marked lines, ensuring clean and precise cuts.
- Score along the fold lines using a bone folder or similar tool, pressing firmly to create crisp folds without cutting through the material entirely.
Fold and Assemble the Boxes:
- Begin by folding along the scored lines, using the bone folder to crease the material thoroughly.
- Apply adhesive to the designated flaps and edges, following the assembly sequence outlined in your template.
- Press the glued flaps firmly together, ensuring a secure bond and neat appearance.
- Repeat the folding and assembly process for each box until all are completed.
For More Info visit Our website: Custom Boxes Peak
Add Customization and Finishing Touches:
- If desired, proceed to customize the boxes further by adding printed designs, embossing, foil stamping, or window cutouts.
- Allow any applied embellishments or printing to dry or set completely before handling the boxes further.
- Inspect each box for quality and consistency, making any necessary adjustments or touch-ups as needed.
Packaging and Distribution:
- Once your custom shirt boxes are complete, use them to package your shirts securely, ensuring proper protection during shipping and handling.
- Consider branding the exterior of the boxes with labels, stickers, or additional branding elements to reinforce your brand identity.
- Distribute the packaged shirts to retailers, customers, or recipients, delivering a memorable unboxing experience that reflects your brand's values and attention to detail.
By following these steps, you can create custom shirt boxes that not only showcase your products effectively but also leave a lasting impression on your customers. Experiment with different materials, designs, and finishing techniques to truly make your custom boxes stand out in the competitive retail landscape.