How to Draw A Cartoon Duck. It's hard not to love ducks, as they have many personalities. Because of this, ducks have been featured in movies or as cartoon characters for many years, and some of the most well-known characters are based on this bird.
Also, check our fish coloring page.
If you also love ducks, you may have wondered if there is a way to learn how to draw a duck, and we're here to tell you that you've come to the right place!
In this guide, we'll walk you through 6 steps to make your cartoon duck. The drawing we will work on may seem complicated, but we will show you how easy and fun it can be to take it apart.
When you're drawn, we'll also cover some ways you can color in and add to your artwork, allowing you to use this character to create your unique piece of art.
So, without further ado, let's dive in and start with the first step of the guide to starting this drawing journey!
How to Draw A Cartoon Duck
Step 1
In this first step of the tutorial, we'll focus on the outlines of the beak and eyes of this cartoon duck drawing.
Before you start, you can prepare the drawing by creating rough shapes with a light pencil.
Using the example in the last image, you can reference two connected oval shapes.
While they don't have to match the shape of the final head, they should be roughly the same size.
The oval of the head flattens out a bit while the body gets slimmer. It might seem unnecessary, but keeping the aspect ratio accurate and consistent can be very helpful.
Next, we will outline the beak, which can be tricky. Try to follow the reference image closely as you draw, possibly using a pencil at first.
The finer details will be added in the following steps, so don't worry if it looks like little. As you will see in the example, it has the shape of a spinning top.
Before we continue, let's also add the duck's eyes. These should be easy enough to draw as all you have to do is add two ovals to the top outline of the beak. That's all for now, and we can move on to step two.
Step 2
Next, we will add the outline of the head to your design. This connects to the beak you drew in step one, and you'll find it much easier if you draw a pencil circle first.
First, draw a slightly curved line connecting the lower left side of the beak, as shown in our example. Next, add another slightly curved line to the lower right side, near the beak, without touching it.
This second line is a mirror image of the curved line on the left side. Next, we'll draw a curved line over each eye.
These curved lines go quite high above the eyes, just below the top outline of the head.
Then you can draw more curved lines for the sides of the head, each end, when they touch the lines drawn above the eyes.
If it needs to be clarified, follow the reference image we have provided. Finally, we'll add two pointed shapes to the top center of the head for some feathers to pop out.
These are the final details for the head outline, and if you've done it correctly, the only space should be a small space on the bottom right side of the head.
If you need a break now, now would be a good time, as we have much to add to the next step. We'll walk you through everything, so don't worry! Let's go to this step when you're ready.
Step 3
As mentioned in the previous step, in this step, we will be adding quite a bit to your drawing of a cartoon duck. We'll break it down into little pieces, so stick with it, and you'll be fine!
We'll start by drawing the duck's wings, although they look more like arms in this case.
The top outline of each arm is drawn as a slightly wavy line, and you can position them differently if you like.
So each hand has three "fingers" and a "thumb" (which technically are probably feathers). These can be drawn using a few simple pointed shapes.
Next, draw a short curved line down the left arm. A longer curved line may descend from the right arm and this curve to the left to form the base of the duck's body.
You can draw the duck's skinny legs downwards with a few curved lines. The left starts inside the body outline, and the right extends from the base outline.
Finish off each leg with a webbed foot, each of which can be drawn with a few more curved lines with three rounded toes on each foot. There will then be a space on the lower left side of the duck.
This gap can be filled with curved lines forming the duck's tail. It was a lot to go through, but now the hardest parts are over! We will add more facial details and finishing touches in the next few steps.
Step 4
The fourth step of this guide focuses on adding some facial detail to this cartoon duck. Let's start with the easiest part - the eyes.
First, add a medium-sized oval shape in each eye. In our example, we have eyes that look ahead, but they could look in different directions if you prefer.
In any case, once the iris is drawn, we can draw the pupils. Each pupil is a black oval in each iris, but a small rounded section is pulled out at the top right as if someone were biting each pupil.
This shows that a point of light is reflected in each eye. The next step is to draw the mouth in the outline of the beak.
Start by drawing a horizontal wavy line across the midpoint of the beak outline. You can then draw two vertical curved lines going down from this line.
Each will curve outward so the base is narrower than the top. Fill in the space at the base of this open mouth with another horizontal curved line.
You can then draw the tongue into the open mouth by drawing two small curved lines that connect. So the inside of the mouth and the beak should be complete!
You can erase any pencil lines you drew to plan the drawing, as you no longer need them.
Step 5
It's almost time to colorize your artwork in a fun way, but let's add some final details first. We'll show you some final details you can add, but you can also get creative in this step and add your details and ideas.
We'll stick with the reference image for now and focus on the details we have planned. You can start by coloring the inside of the open mouth black.
Of course, this does not include the tongue, which will remain white now. Then we added very small lines and dots in different places to give the design more personality.
We wanted to add these details, but now you can add your own! There are a few simple ways to do this, like changing the duck's facial expression or pose.
Now that you've learned how to draw this duck, you could take what you've learned and add some duck friends to hang out with.
These can be drawn similarly but with some minor differences. If you're ambitious, draw cartoon versions of other animals and add a background.
These are some ways to personalize the design, but there are many more, like adding a hat or clothing items to the duck. What else could you add to the drawing?
Step 6
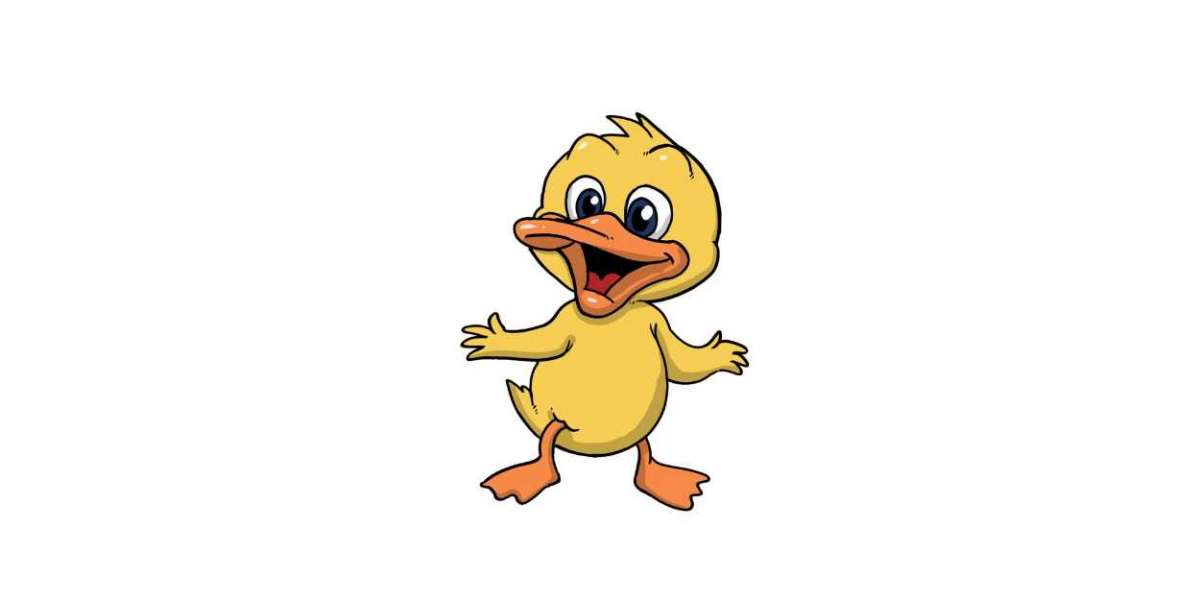
It's always fun to relax with some coloring fun, and that's how we close this cartoon duck drawing! Our reference image shows that we've kept things deceptively simple.
Let's say deceptive, as we kept the colors yellow, orange, red, and blue. It would be yellow for the feathers, red for the tongue, blue for the eyes, and orange for the beak and legs.
Although these are the base colors, we used small variations on each to make the colors more dynamic.
For example, adding a very dark shade of yellow to the base of the body will create some shading.
Not only can you play with different colors and lights, but you can also play with the art tools and mediums you use for the color.
For example, you could use acrylic paints to achieve similar tones as we used.
You could use much brighter colors with markers or crayons. These are just a few examples, but you should use one of your favorite art tools in your collection.
You don't have to limit yourself to just one artistic medium, either, as you can mix and match a few of your favorites to shake things up and create some interesting color combinations.
Now it's your turn to have fun and show what you can while adding color to your wonderful work of art!
Your Cartoon Duck Drawing is Finished!